How We Performed Small but Complex Work in a Dubai Apartment Corridor: Priming, Puttying, and Painting a Ceiling Niche
How We Performed Small but Complex Work in a Dubai Apartment Corridor: Priming, Puttying, and Painting a Ceiling Niche
Introduction: Why Even a Small Niche Requires a Professional Approach
During renovation and fit-out in Dubai, attention is often focused on large elements: reconfiguration, wall finishing, kitchen installation. However, it is precisely the small, technically complex areas—such as the interior ceiling niche in a corridor—that determine the overall impression of the interior and the durability of the finish. In this article, using a real project in one of Dubai’s residential complexes as an example, we show how the Master Workspace team performs priming, puttying, and painting of a ceiling niche with complex geometry and built-in lighting. We will explain why each stage is important, how we control quality and timelines, and what the client should check before accepting such work.
At first glance, 7 m² of surface is not much. But when it comes to an interior niche with curves, joints, and hidden LED lighting, every operation requires precision, experience, and the right materials. Mistakes at this stage can lead to visible defects, paint peeling, or uneven illumination. Therefore, we approach such tasks with the same level of responsibility as a full apartment renovation.
What Was Done on Site: Step-by-Step Breakdown of the Work
As part of project PRJ-364144, the interior ceiling niche in a apartment corridor needed to be prepared and painted. Initially, the surface had defects: cracks, unevenness at drywall joints, traces of previous finishes. The niche is equipped with hidden lighting, which imposes additional requirements for smoothness and uniformity of the coating. Our specialists performed three key operations:
- Priming — 7 m². Application of a deep-penetration adhesion primer to strengthen the base and improve adhesion of subsequent layers.
- Puttying — 7 m². Leveling the surface with finishing putty, taking into account the complex geometry: corners, transitions, areas adjacent to lighting elements.
- Painting — 7 m². Painting in two coats with durable interior paint, preceded by dust removal and quality control under side lighting.
Each stage was documented with photographs in reports, allowing the client to remotely track progress. Below, we detail how the work proceeded and what nuances were considered.
Preparation and Priming: The Foundation of a Durable Finish
Before starting work, we inspected the niche and agreed on a plan of action with the client. In Dubai, it is important to consider the microclimate: high humidity and temperature fluctuations can affect material adhesion, so the choice of primer is crucial. We use compounds recommended for air-conditioned spaces that prevent mold growth and ensure vapor permeability.
The photo shows the master applying primer to the niche surface. All joints and corners were pre-cleaned of dust, and reinforcing mesh was applied to problem areas. This is standard practice at Master Workspace to prevent microcracks. The primer was applied in two coats with intermediate drying—this approach guarantees even absorption and creates a reliable base for puttying. The entire process took about 4 hours, including technological breaks.
Puttying Complex Geometry: Precision and Patience
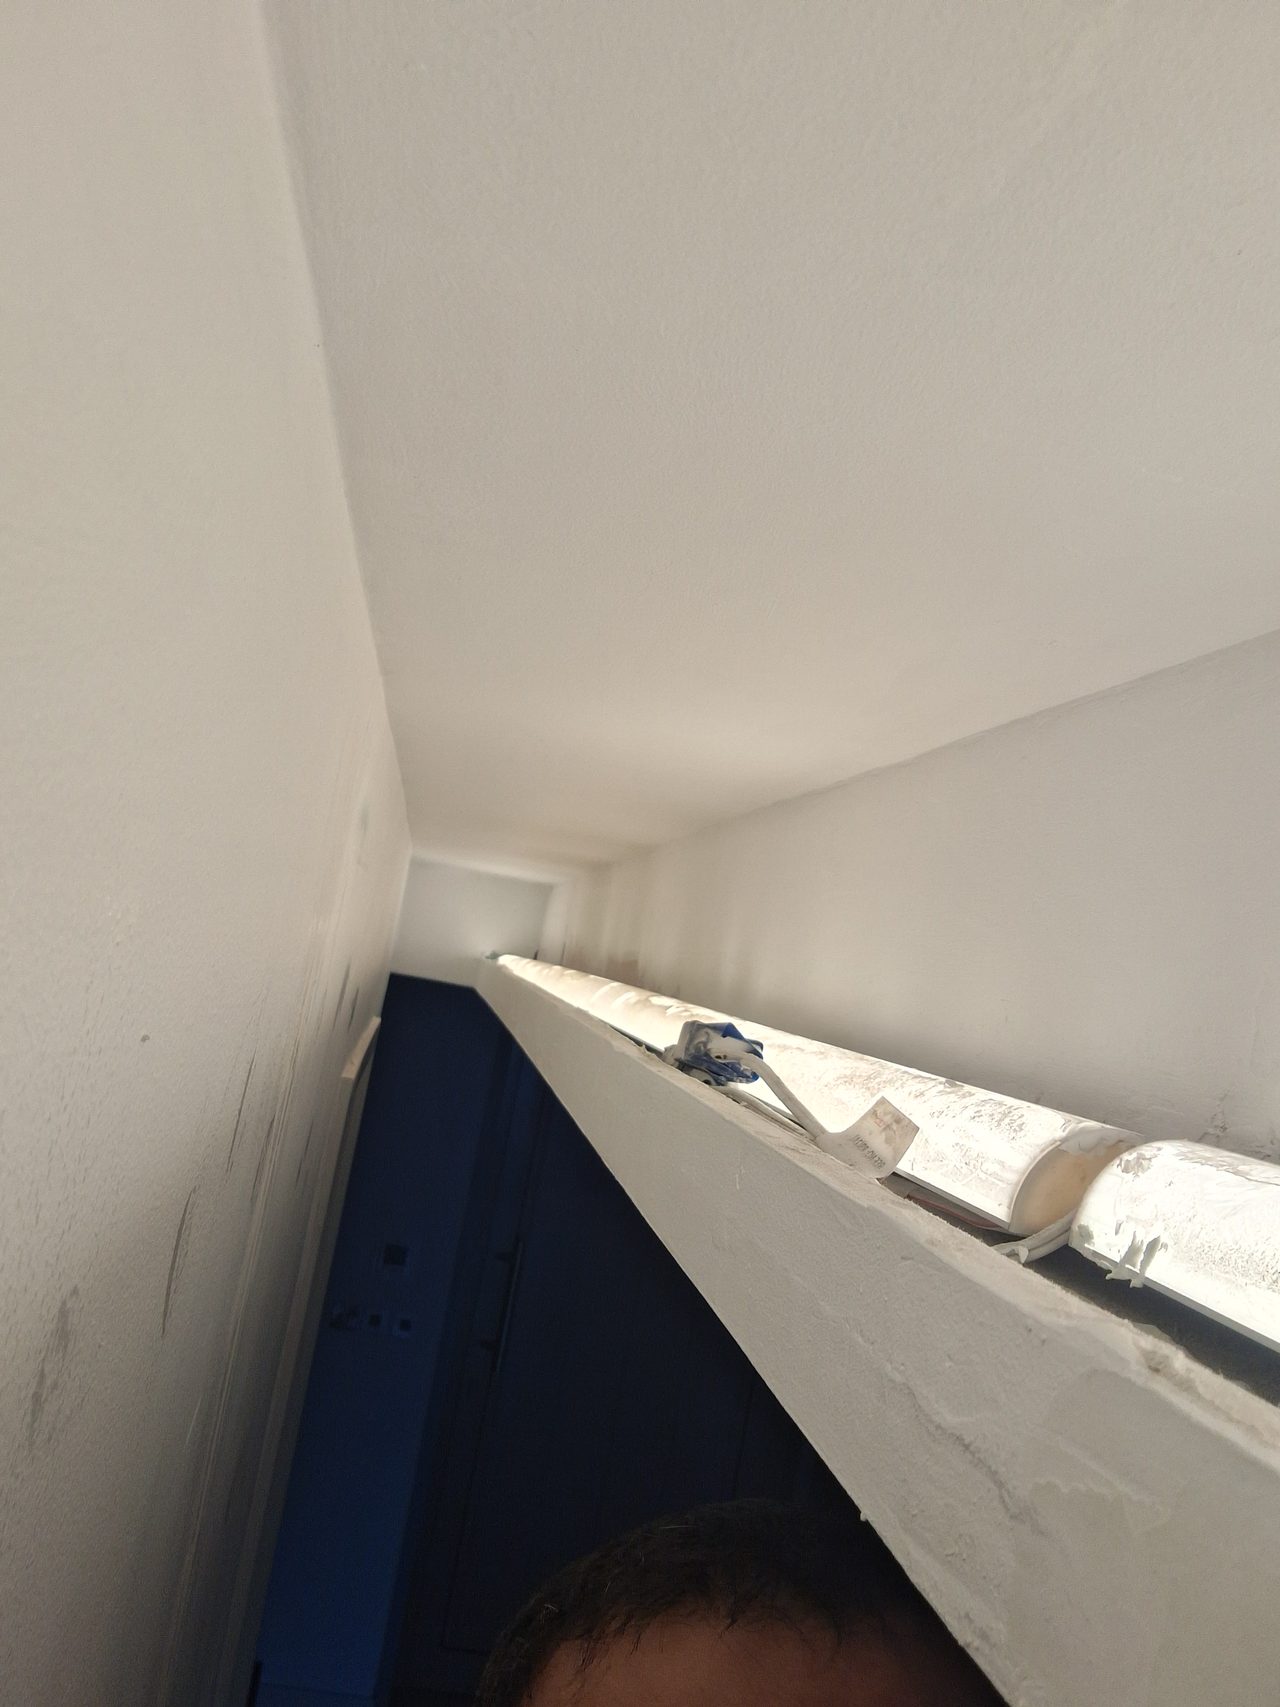
Puttying an interior niche with curves and lighting is work that cannot be rushed. Craftsmen must manually level the surfaces, controlling geometry with a level and side light. On this project, we used a fine-grained polymer finishing putty that allows achieving a perfectly smooth surface for painting.
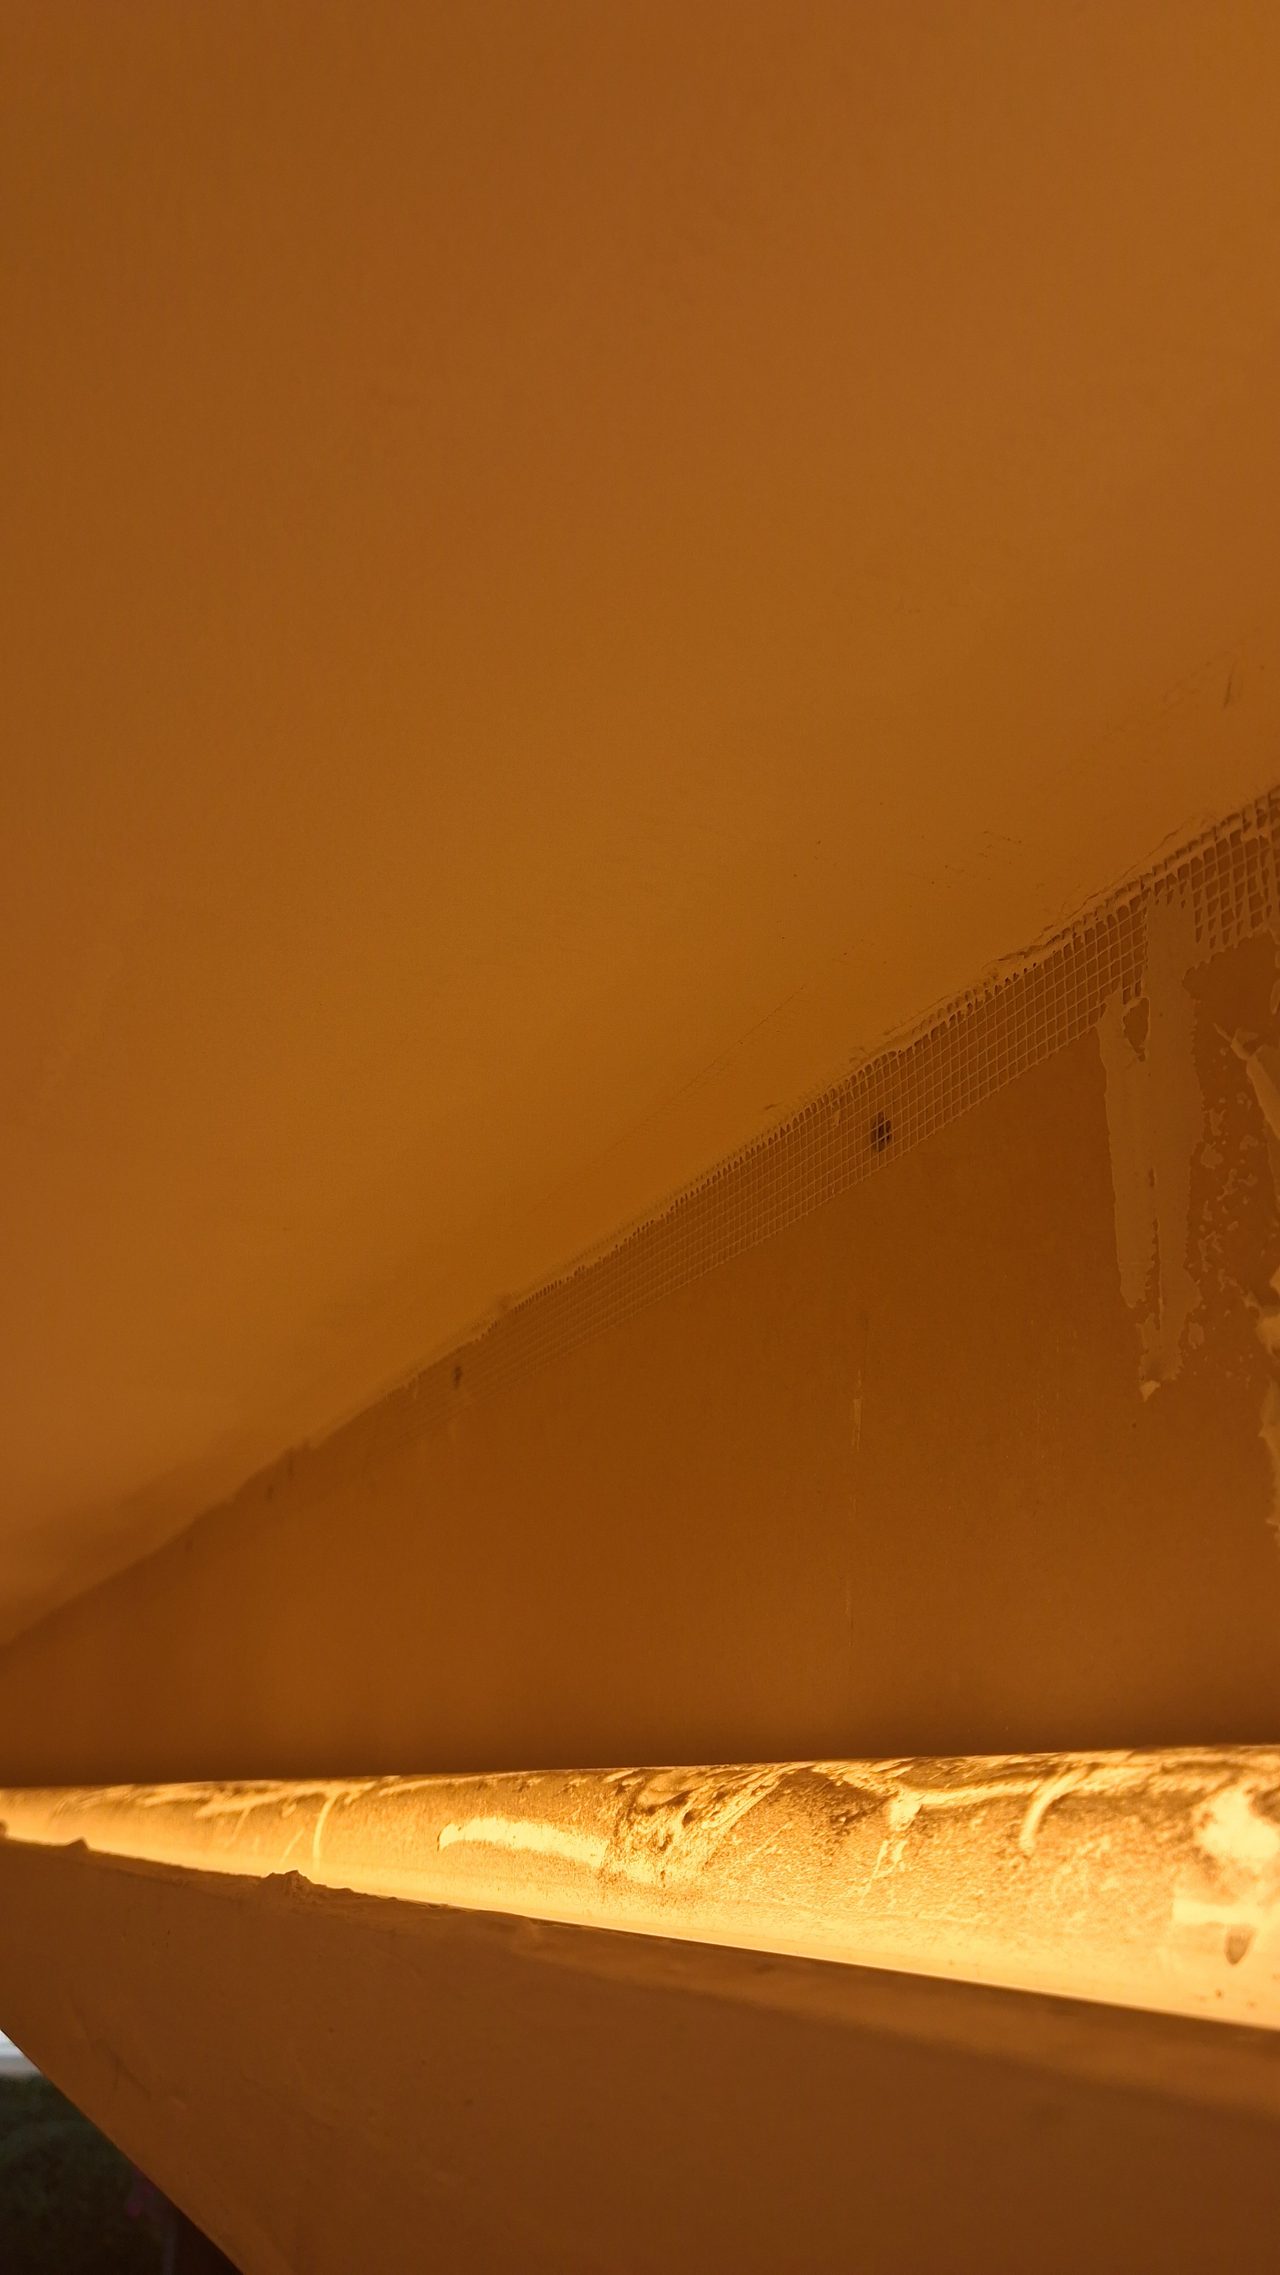
The image captures the process of applying putty to the interior surface of the niche. Note the narrow profile and proximity to lighting elements—any careless movement could damage the wiring or LED strip. Therefore, before starting, we additionally protected the fixtures with painter’s tape and film. The putty was applied in three thin layers with intermediate sanding. The total drying and processing time was about 12 hours, spread over two days to prevent shrinkage.
Painting: The Final Touch with Quality Control
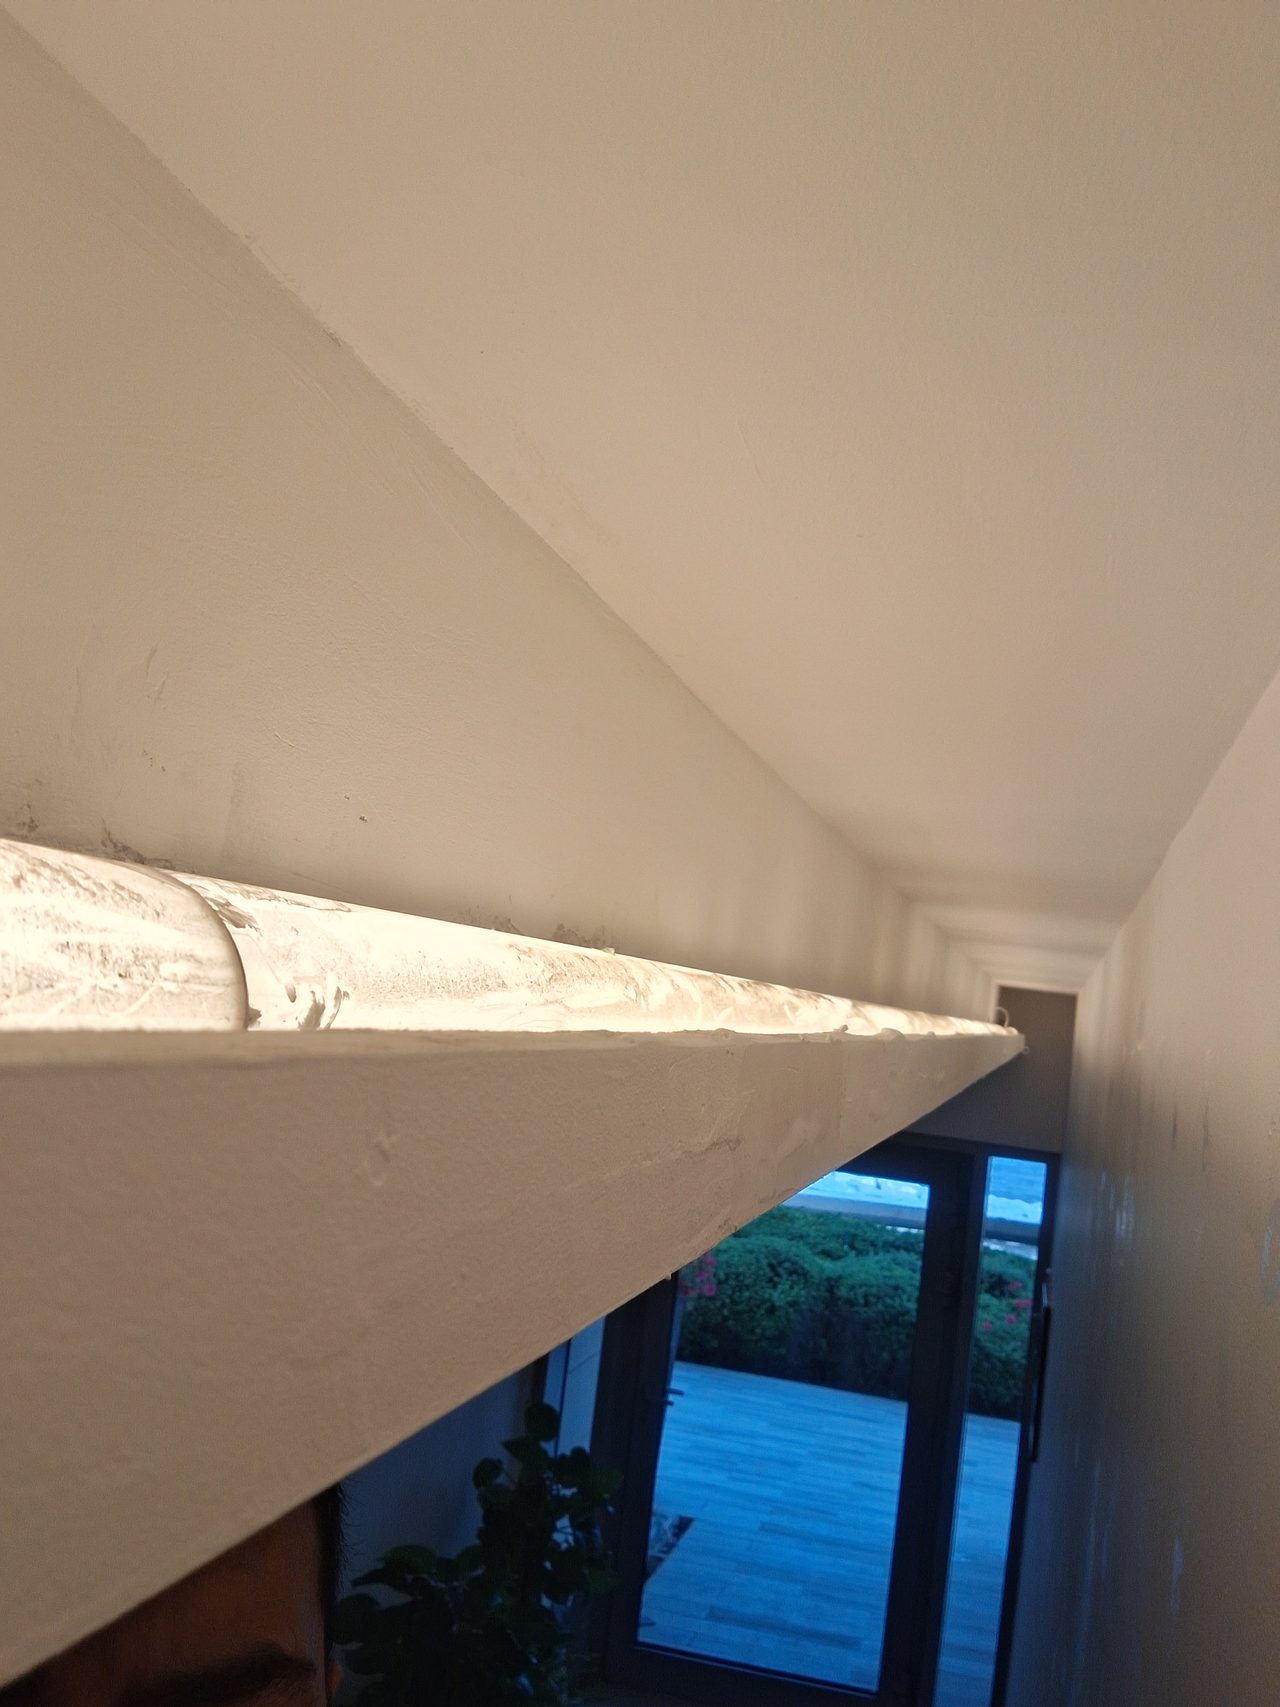
Painting is the most critical stage, as it forms the visual result. For a niche with hidden lighting, uniformity of tone and absence of streaks—which can become apparent when the light is on—are critically important. We used a premium matte acrylic paint, resistant to washing and abrasion, which is relevant for high-traffic corridors.
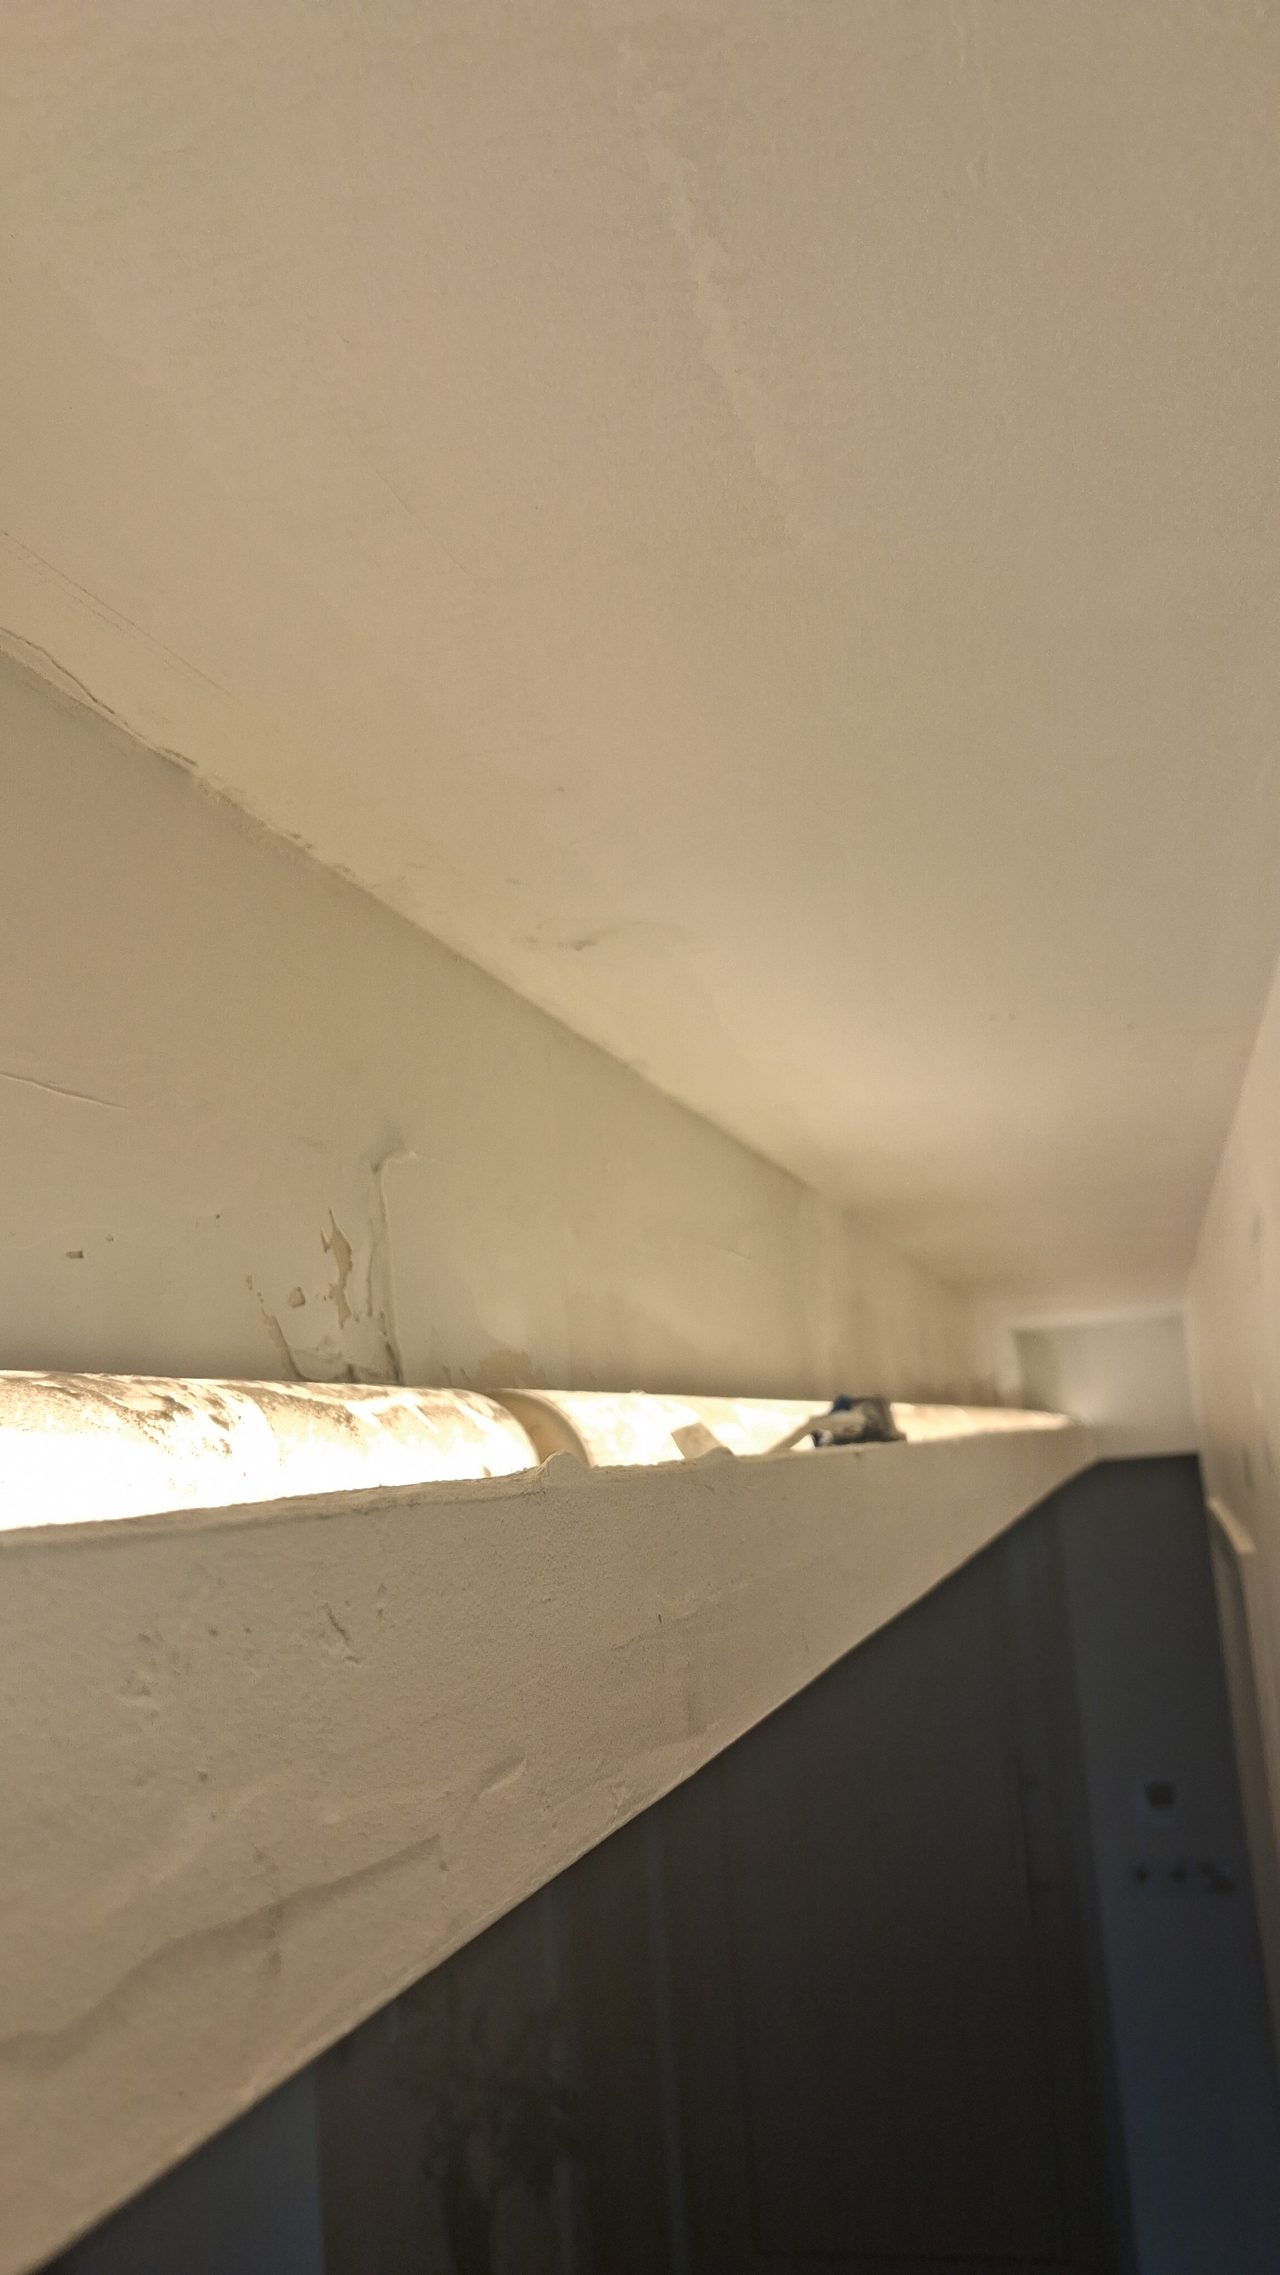
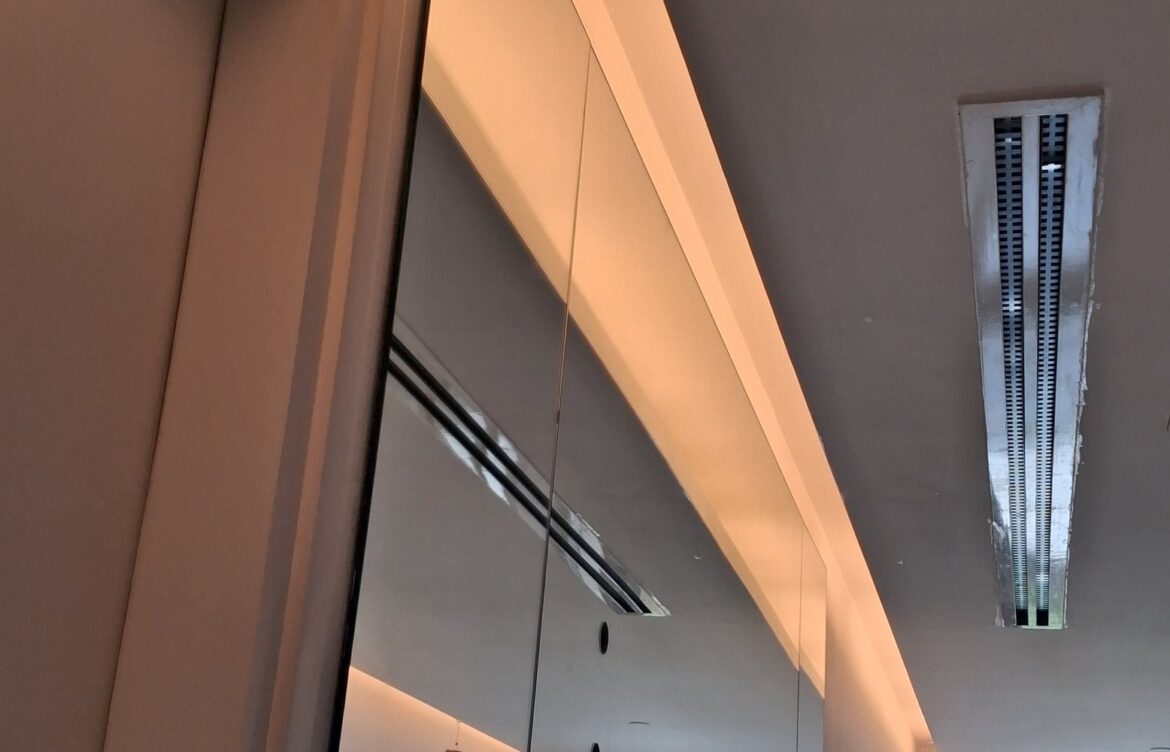
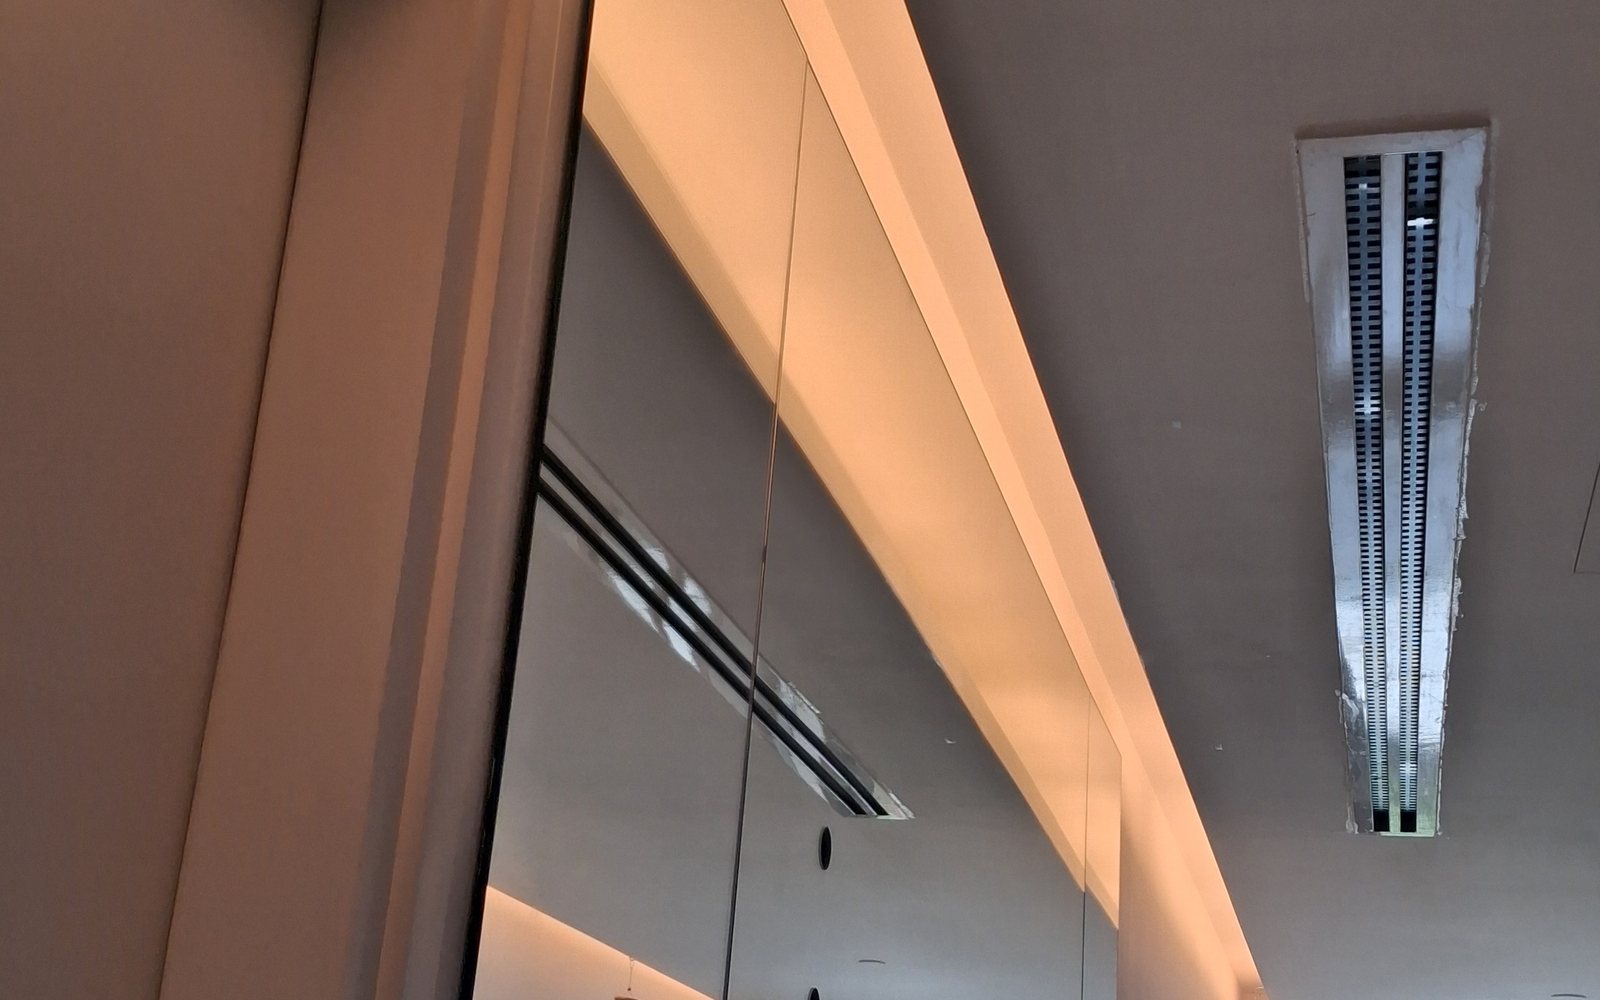
The photo shows the careful application of paint with a narrow roller and brush in hard-to-reach corners. Painting was done in two coats with a mandatory intermediate drying period of at least 4 hours. After completion, we conducted an inspection with the lighting on to ensure no defects. The final result is a smooth, uniform surface that highlights the niche’s architecture and softly diffuses light.
Compare the ‘before’ and ‘after’ condition: the left image shows unevenness and traces of old finish, while the right shows flawless geometry and clean color. Such transformations are only possible with strict adherence to technology and the use of quality materials.
Why This Stage Matters for Cost, Quality, and Handover Timelines
Small finishing works are often underestimated, yet they directly affect three key parameters of any fit-out project in Dubai:
- Cost. Quality preparation and painting of the niche prevent the need for rework in the future. Paint peeling or cracks would require calling masters again, increasing the final estimate. At Master Workspace, we record volumes in a detailed BOQ (Bill of Quantities), so the client knows in advance what they are paying for and does not face unexpected expenses.
- Quality. The niche with lighting is the ‘showcase’ of the corridor. Any defect will be immediately noticeable. Our control at each stage (priming → puttying → painting) and photo reporting guarantee that the result meets expectations.
- Timelines. Despite apparent simplicity, the work took three days including drying. Attempting to speed up would lead to defects. We plan the schedule so that adjacent tasks (e.g., lighting installation) are not delayed, and we deliver the project on time.
Dubai Specifics: Approvals and Building Management Restrictions
When carrying out any finishing work in Dubai apartments, it is necessary to consider the rules set by the developer or building management. In this project, the niche was part of the original ceiling structure, so no additional approvals were required for painting. However, we always recommend clients clarify in advance:
- Is it allowed to change the color or texture of surfaces in common areas (if the niche extends beyond the apartment)?
- Are there restrictions on the timing of noisy work (sanding may fall under ‘quiet hours’)?
- Is an access pass required for our craftsmen and material delivery to the floor?
Master Workspace handles communication with the building management during comprehensive renovations, relieving the client of bureaucratic hassles.
How Master Workspace Manages the Process: BOQ, Photo Reports, Timeline, and Approvals
Transparency and control are the foundation of our approach to fit-out projects. Even for a small scope of work, we apply the same standards as for full renovation:
- Detailed BOQ. Each operation (priming, puttying, painting) is included in the estimate with volume, unit of measurement, and cost. The client sees what makes up the price and can adjust the list before work begins.
- Photo Reports. At all stages, we take photos that are uploaded to cloud access. The client can check progress at any time, even from outside the UAE.
- Timeline. The schedule is created considering technological breaks and agreed upon before start. In this case, we completed within 3 working days as planned.
- Approvals. All key decisions—choice of paint, final shade, need for an extra coat—are discussed with the client via messengers or email. We do not make ‘surprises’.
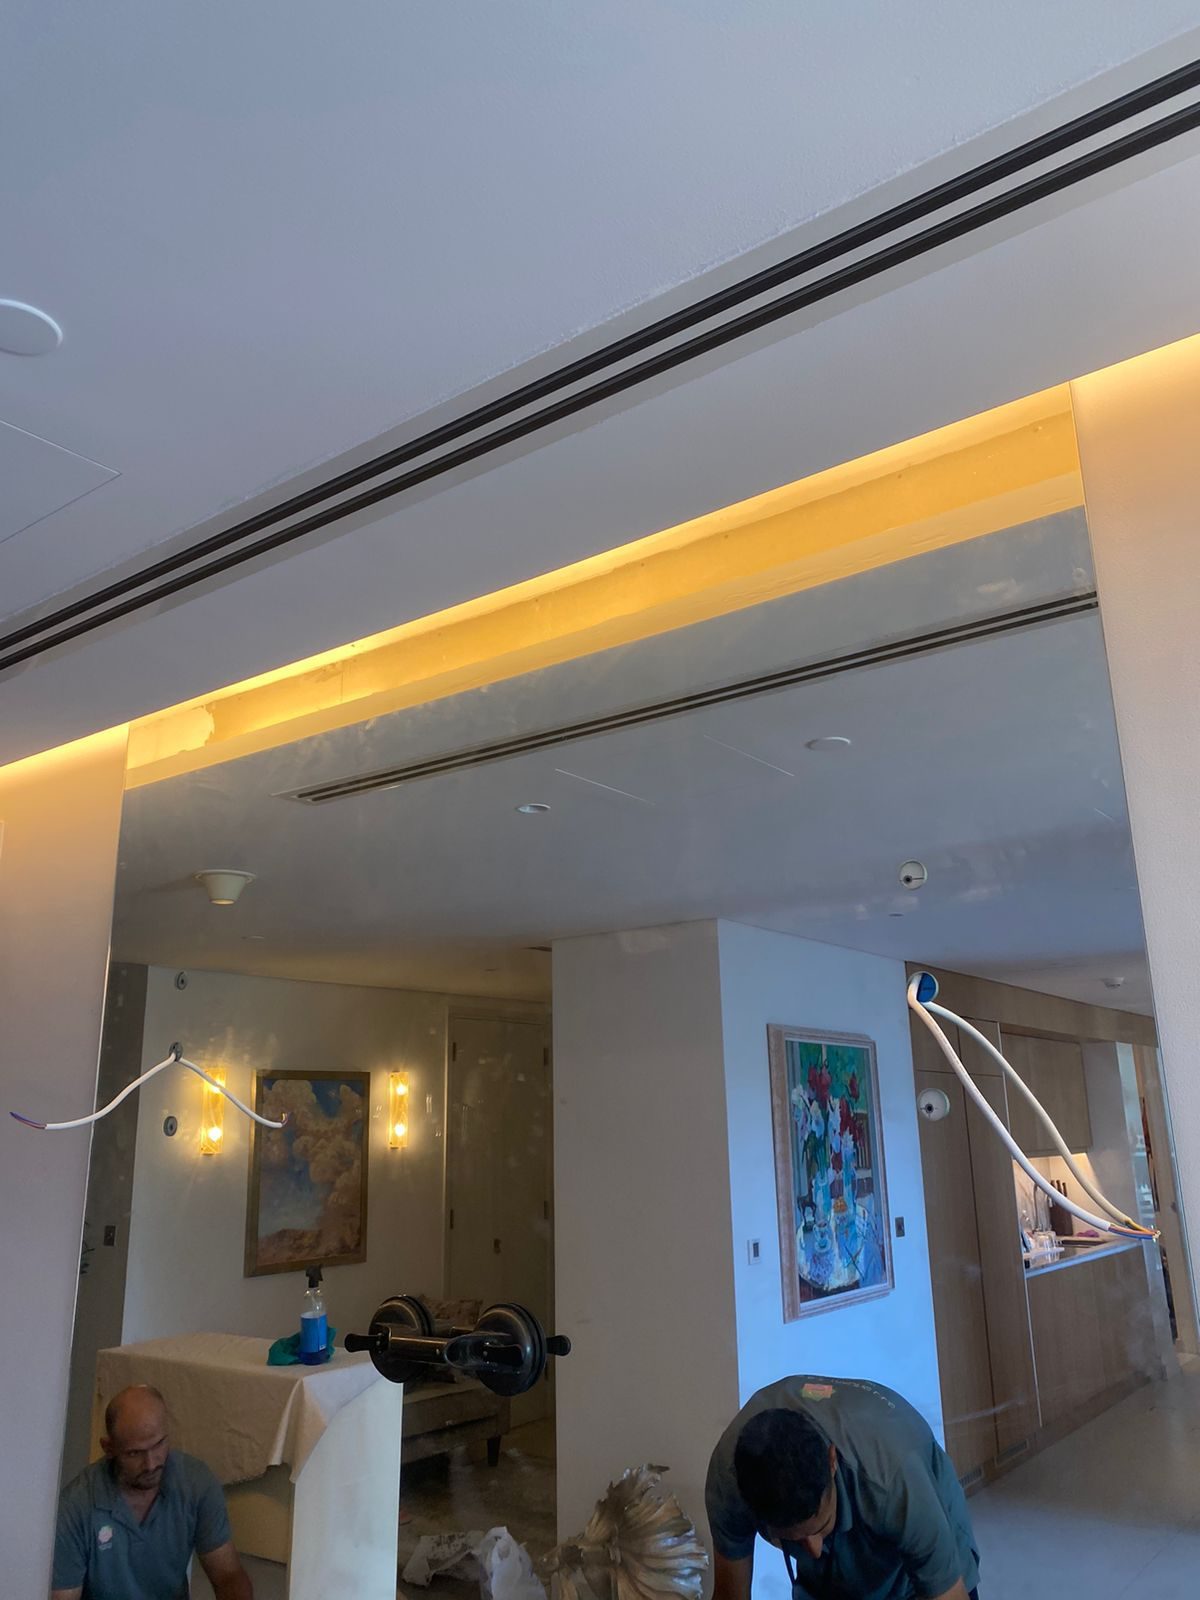
This photo shows the niche condition before work began. Every project starts with such a detailed inspection. We document defects so that the result can be clearly demonstrated later.
What the Client Should Check Before Starting a Similar Project
If you are planning a renovation or fit-out in Dubai and the estimate includes small but technically complex work, pay attention to the following points:
- Craftsmen Qualification. Ask for examples of completed projects with similar geometry. Painting niches and curved surfaces requires experience, not just ‘skillful hands’.
- Materials. Clarify which primer, putty, and paint will be used. For Dubai’s humid climate, moisture resistance and anti-fungal properties are important.
- Warranty. Find out if the contractor provides a warranty on finishing work and how issues are resolved in case of defects.
- Reporting. Insist on photo documentation of each stage. This disciplines the team and protects your interests.
- Timelines. A realistic schedule considering drying times is a sign of professionalism. If they promise ‘everything in one day’, quality will likely suffer.
Master Workspace always provides a portfolio, material certificates, and a detailed work plan. We are interested in long-term relationships, so we do not cut corners.
Conclusion: Trust the Details to Professionals
Renovation and fit-out in Dubai are not only large-scale transformations but also many small tasks that affect the overall impression. An interior ceiling niche in a corridor, executed with all technologies, will last for years and please the eye. The Master Workspace team is ready to undertake both comprehensive apartment renovation and individual types of work—always with quality assurance and transparent reporting.
If you are looking for a reliable fit-out contractor in Dubai, contact us for a consultation. We will help implement a project of any complexity—from priming a niche to full apartment renovation.
Complete renovation service | Complete renovation service | Project gallery
Frequently Asked Questions
How long does a similar renovation take in Dubai?
The duration depends on the scope and complexity. In our example, priming, puttying, and painting 7 m² of ceiling niche, including drying, took 2 working days. For a comprehensive corridor or entire apartment renovation, timelines are calculated individually, but we always provide a detailed schedule before work begins.
What affects the cost of such work?
Main factors: surface area, complexity of geometry (niches, curves), need for additional preparation (reinforcement, leveling), type of materials used, and site accessibility. At Master Workspace, the cost is fixed in the BOQ, so you pay only for agreed volumes without hidden extras.
What should be checked before accepting work from a contractor?
We recommend: 1) Inspect the surface under side lighting—this reveals the slightest unevenness. 2) Turn on the lighting (if any) and check for uniform illumination. 3) Check corners and joints for cracks. 4) Ensure the color matches the sample. 5) Request photo reports of each stage to confirm technology compliance.